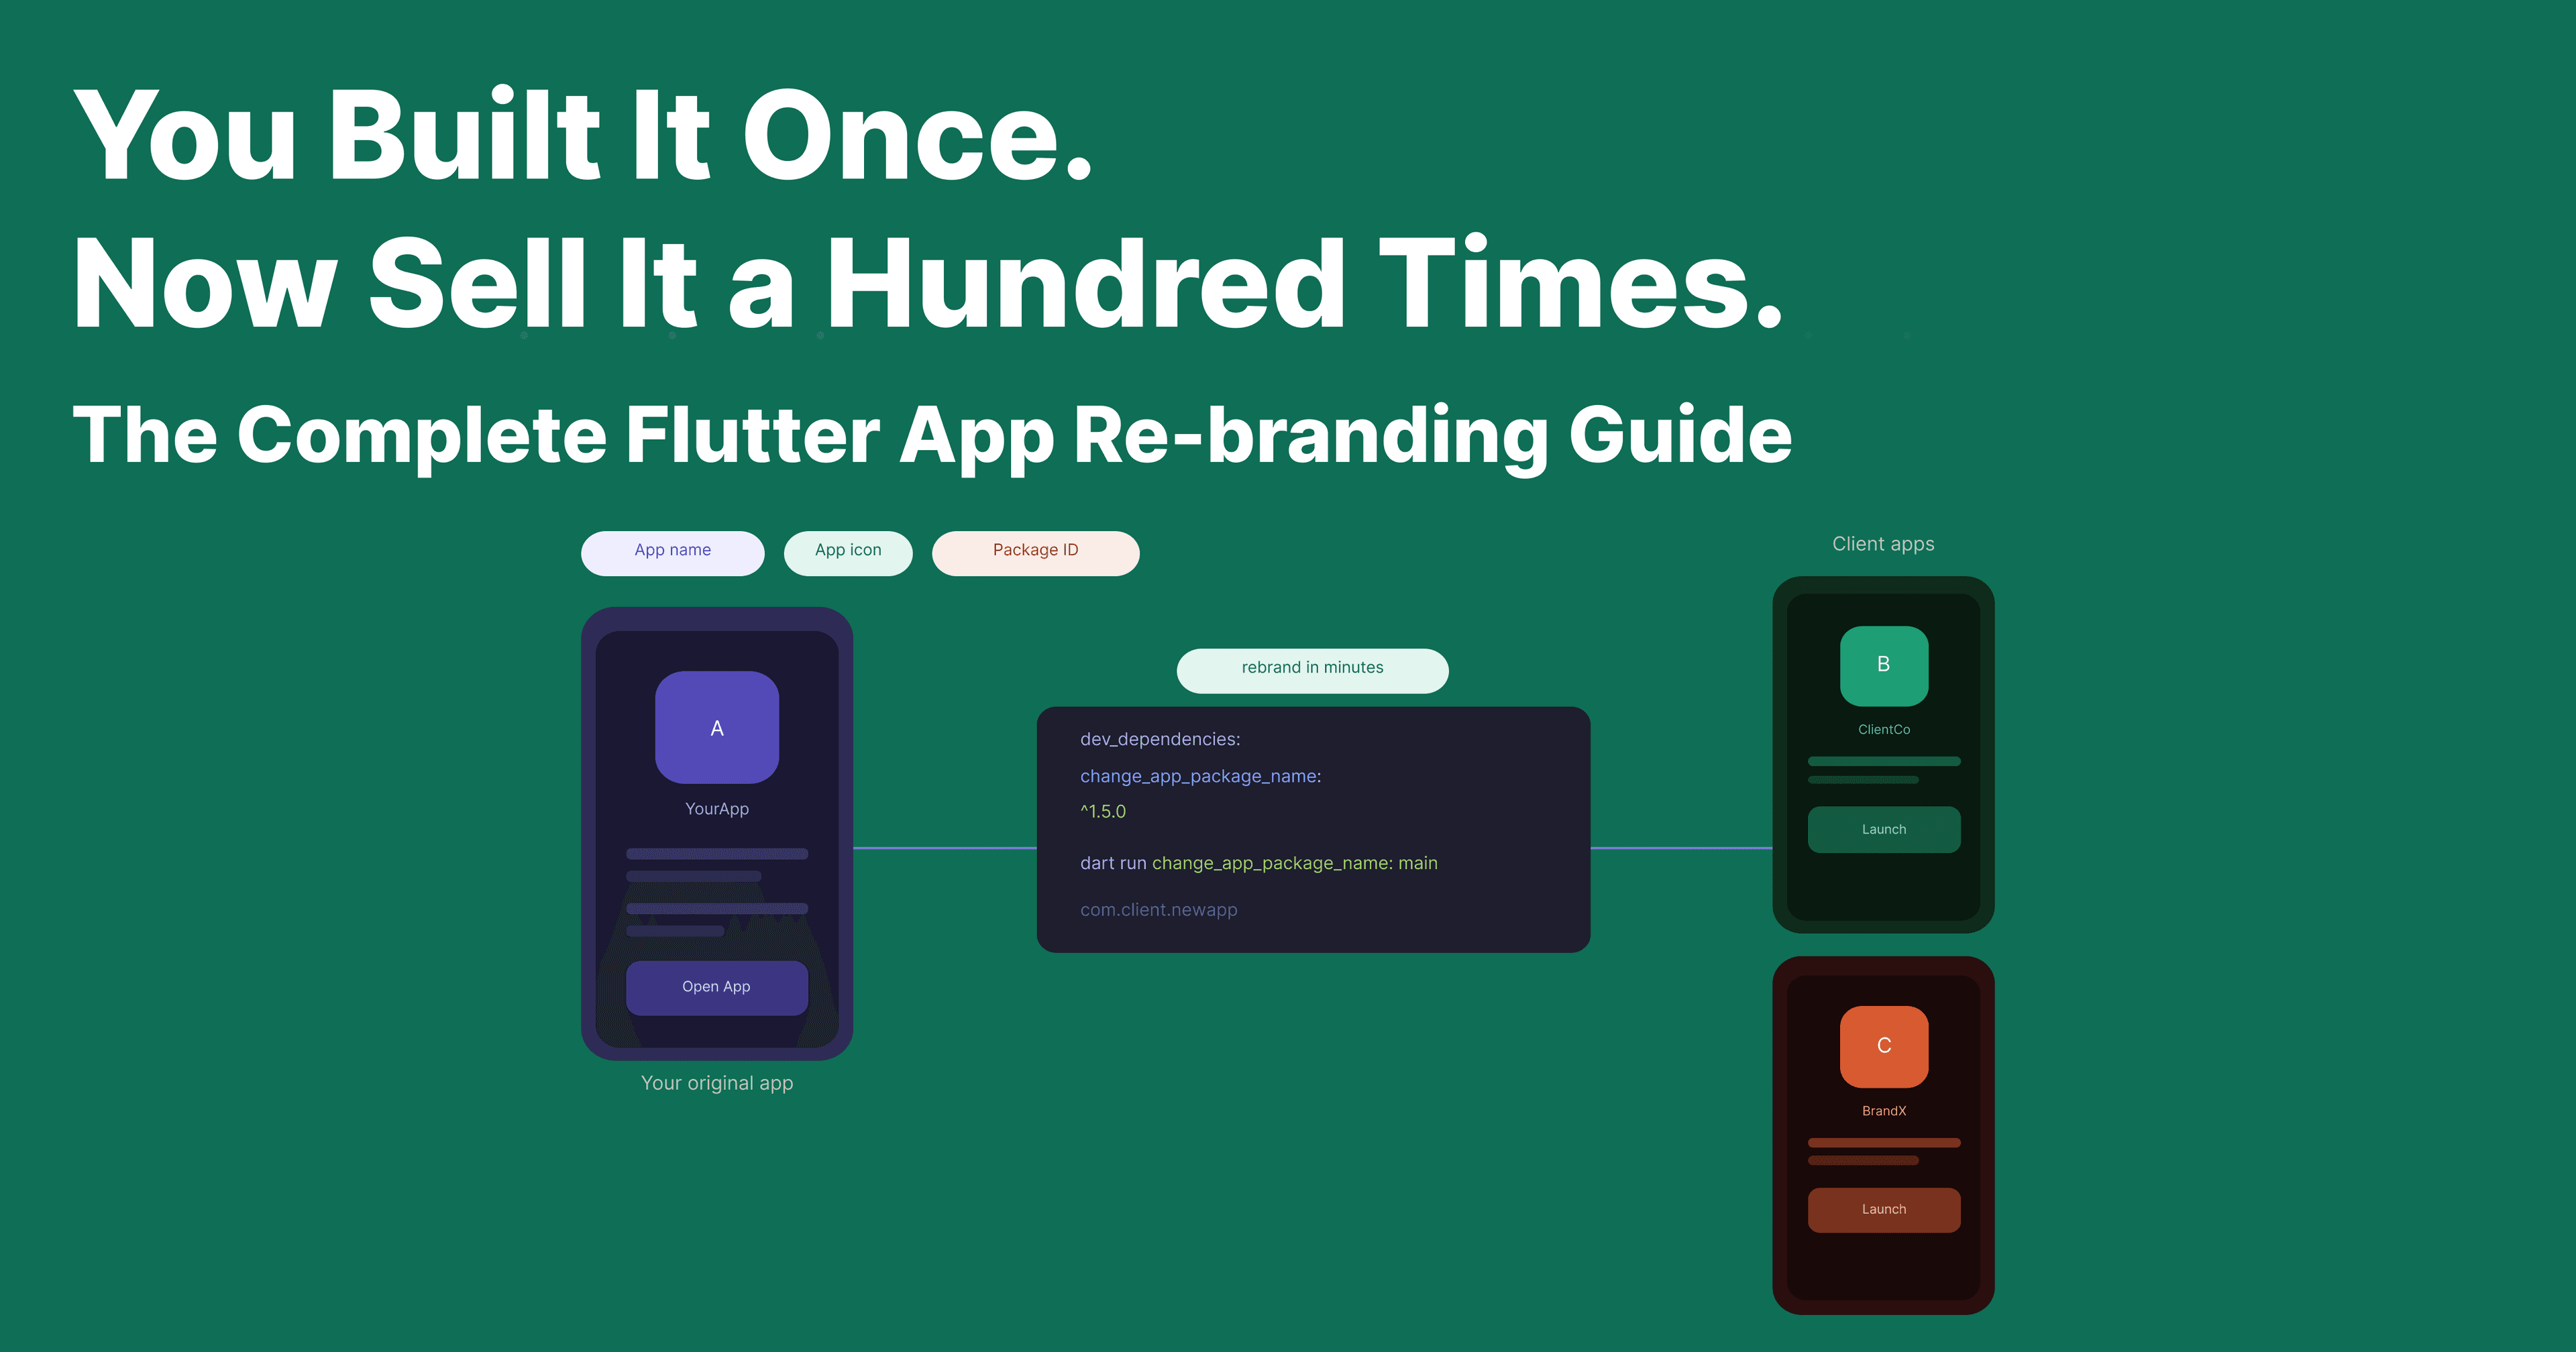
You Built It Once. Now Sell It a Hundred Times — The Complete Flutter App Rebranding Guide
TL;DR — This guide covers everything you need to rebrand a Flutter app for a new client: changing the app name, swapping the icon with
flutter_launcher_icons, renaming the package ID withchange_app_package_name, and a checklist of things most developers miss. Whether you're white-labeling for the first time or the tenth, this is the reference you'll keep coming back to.
So you built something. An app that actually works, looks good, and solves a real problem. Now a client or company comes along and says — "Can we have this, but with our name and logo?"
That's a great problem to have. But if you've never done a Flutter app rebrand before, it can feel oddly intimidating for something that sounds simple. Change the name, swap the icon, rename the package... how hard can it be?
Turns out, if you don't know where to look, it can get messy fast. This guide walks you through the complete Flutter white-label rebranding process — step by step, cleanly and confidently.
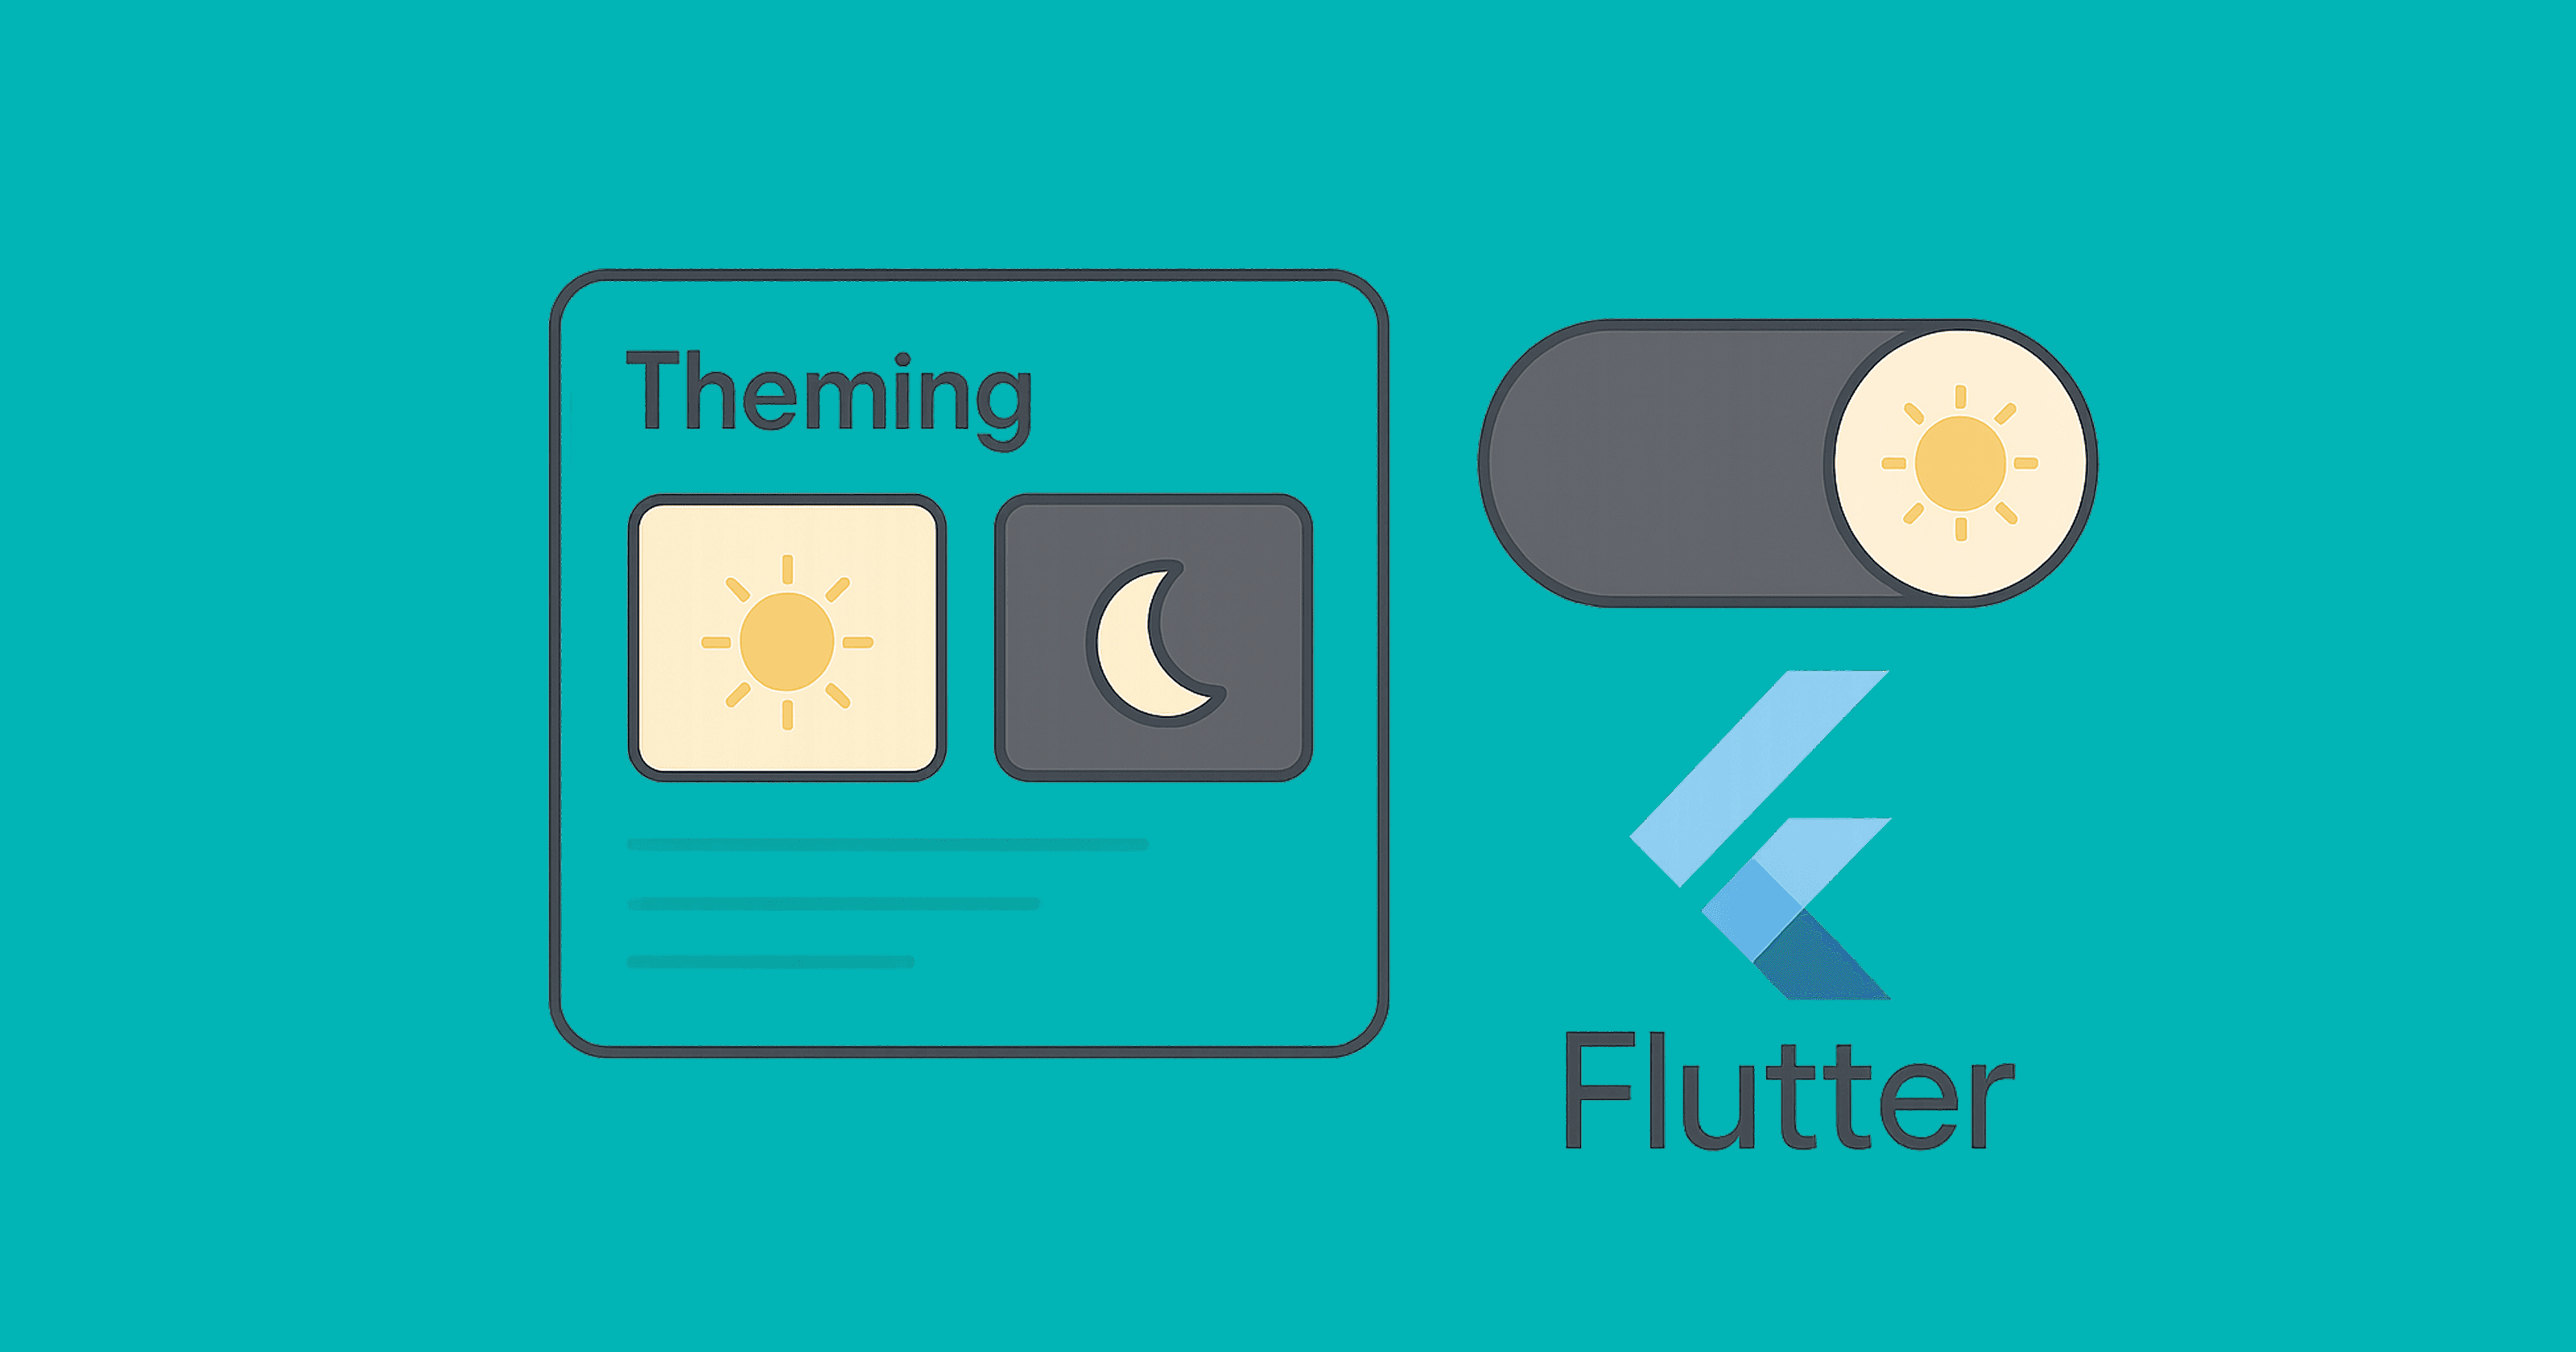
What Does "Rebranding a Flutter App" Actually Mean?
When you hand off a white-labeled version of your Flutter app to another company, there are three things that almost always need to change:
- The app name — what users see on their home screen
- The app icon — the visual identity of the brand
- The package name / bundle ID — the unique identifier used by the Google Play Store, Apple App Store, and the OS itself
Most developers forget that third one until something breaks. Let's not do that.
Each of these changes targets a different part of your project, and skipping even one can cause build failures, store rejections, or worse — your app and the client's app sharing the same identifier in production.
Step 1 — How to Change the Flutter App Name
The display name (the label that appears under the icon on a user's phone) lives in two platform-specific files.
Android — AndroidManifest.xml
Open android/app/src/main/AndroidManifest.xml and update the android:label attribute on the <application> tag:
<application
    android:label="ClientAppName"
    ...>
iOS — Info.plist
Open ios/Runner/Info.plist and update the CFBundleDisplayName key:
<key>CFBundleDisplayName</key>
<string>ClientAppName</string>
That covers both platforms. It's simple, but missing one of them means the rebrand looks half-done on one OS — and clients notice.
Step 2 — How to Change the Flutter App Icon
Manually resizing icons for every screen density is the kind of thing that used to take an hour and still somehow looked wrong on one device. Skip all of that.
The flutter_launcher_icons package handles icon generation for every size and density on both Android and iOS from a single source image.
Setup
Add it to your pubspec.yaml:
dev_dependencies:
  flutter_launcher_icons: ^0.13.1

flutter_launcher_icons:
  android: true
  ios: true
  image_path: "assets/icons/client_icon.png"
  min_sdk_android: 21
Use a high-quality PNG at 1024x1024 pixels as your source. Then run:
dart run flutter_launcher_icons
That single command generates all the required icon sizes for both platforms. No Photoshop, no manual asset folders.
Things to Watch Out For
- Transparent backgrounds on Android 7 or below — they'll render as a black square. Use a solid background color instead.
- Adaptive icons for Android 13+ — you can configure
adaptive_icon_backgroundandadaptive_icon_foregroundseparately in the config for a better look on modern Android. - Always test on a real device — the icon preview during config doesn't represent how it actually renders on every launcher.
Step 3 — How to Change the Flutter Package Name (The Critical Step)
The package name on Android (e.g., com.yourcompany.appname) and the bundle identifier on iOS are what uniquely identify your app across the entire ecosystem. If two apps share the same ID, the Play Store and App Store will treat them as the same app — which causes real problems during submission.
When rebranding a Flutter app for a new client, this must change.
Doing it manually means touching AndroidManifest.xml, build.gradle, every directory path under kotlin/ or java/, the package declarations inside those files, and iOS project settings in Xcode. Miss one file and you're looking at a cryptic build error and 20 minutes of head-scratching.
The cleaner way is the change_app_package_name pub package.
Setting It Up
Add it to dev_dependencies in your pubspec.yaml:
dev_dependencies:
  change_app_package_name: ^1.5.0
Then run a single command:
dart run change_app_package_name:main com.clientcompany.appname
Replace com.clientcompany.appname with the new package name. The convention is reverse domain notation — use the client's domain if they have one (e.g., com.acmecorp.deliveryapp).
What the Package Does Automatically
- Updates
applicationIdinandroid/app/build.gradle - Renames the directory structure under
android/app/src/main/kotlin/(orjava/) - Updates the
packagedeclaration inside all affected Kotlin/Java files - Updates
AndroidManifest.xml
What You Still Need to Do on iOS
The package doesn't touch iOS. For the bundle identifier, open your project in Xcode, go to Runner > Signing & Capabilities, and update the Bundle Identifier field. It takes about 10 seconds.
Step 4 — The Rebranding Checklist (Things Most Developers Miss)
The three steps above get the visible stuff done. But before you hand off the build to a client, run through this checklist.
Firebase / Backend Config
If your app uses Firebase, the new package name won't be registered in the existing Firebase project. You'll need a new google-services.json (Android) and GoogleService-Info.plist (iOS) from a Firebase project linked to the new package ID. Skipping this breaks push notifications, analytics, and auth.
Deep Links and Custom URL Schemes
If your app handles universal links or custom URL schemes (e.g., yourapp://), those are tied to the package name and domain. Update them in the manifest, entitlements, and wherever they're configured on your server.
App Store and Play Store Listings A new package name means a completely new store listing — it's not an update to the original app. The client will need their own developer accounts (or you submit under yours with their details). Plan for a fresh review cycle.
Keystore and Signing Certificates Never sign a client's build with your own personal keystore. Either generate a new keystore for them or have them generate one themselves. The same applies to iOS provisioning profiles and distribution certificates.
Environment Variables and API Keys
If the original app points to your own backend or uses your API keys, the rebranded version needs its own config. The cleanest way to manage this is with Flutter's --dart-define flags or a flavor-based environment config — more on that below.
Splash Screen
Don't forget to update the splash screen if it includes your logo or the original app name. The flutter_native_splash package makes this just as easy as flutter_launcher_icons.
Bonus: Set Up Flutter Flavors for Multi-Client Workflows
If rebranding is something you're going to do more than once — multiple clients, same core codebase — it's worth setting up Flutter flavors (called build variants on Android).
Flavors let you maintain a single codebase and produce completely different builds — different names, icons, package names, API endpoints, and feature flags — just by switching a build target:
flutter run --flavor clientA -t lib/main_clientA.dart
flutter run --flavor clientB -t lib/main_clientB.dart
The initial setup takes a few hours, but once it's in place, onboarding a new client becomes a matter of adding a new flavor config rather than manually cloning and modifying the entire project.
The flutter_flavorizr package automates most of the boilerplate for setting up flavors across both platforms. It's worth an afternoon of your time if you're building a white-label business around your app.
Quick Reference — Flutter Rebranding Checklist
| What to Change | Where | Tool / Method |
|---|---|---|
| App display name | AndroidManifest.xml, Info.plist |
Manual |
| App icon | Generated asset folders | flutter_launcher_icons |
| Package name / Bundle ID | build.gradle, Kotlin files, Xcode |
change_app_package_name + Xcode |
| Firebase config | Project root | New google-services.json / .plist |
| Splash screen | Platform folders | flutter_native_splash |
| Signing / Keystore | Build config | New keystore per client |
| Deep links | Manifest, entitlements, server | Manual |
Frequently Asked Questions
Can I use the same Firebase project for multiple rebranded apps? Technically yes, but it's not recommended. Each rebranded app should ideally have its own Firebase project to keep analytics, crash reports, and user data separate per client.
Does change_app_package_name work with flavors?
It works on the default app config. If you're using flavors, you'll want to manage package names per-flavor in your build.gradle directly rather than running the package command.
Do I need a separate Apple Developer account for each client? Not necessarily. You can distribute under your own account and list the client as the seller, or you can submit through their account. This is a business/contractual decision more than a technical one.
Will changing the package name affect existing users of the original app? No — your original app is untouched. The rebranded version is effectively a brand new app. Existing users of the original won't see any difference.
What's the difference between package name and app name in Flutter? The app name is what users see on their screen. The package name is an internal identifier used by the OS and app stores — users never see it, but it has to be unique.
Wrapping Up
Rebranding a Flutter app for a client isn't complicated once you know the three core things to change — app name, icon, and package ID. The right packages handle most of the mechanical work, and a solid checklist takes care of the rest.
The real leverage comes when you start thinking about this at architecture time. Building flavor support into your project from day one means you're never scrambling when the second client shows up.
If you've done this before and ran into something I didn't cover here — a quirky edge case, a platform-specific gotcha — drop it in the comments. This kind of shared experience is what makes these guides actually useful over time.
And if this saved you some time or headache, share it with a Flutter dev who's about to go through their first white-label project. They'll owe you one.