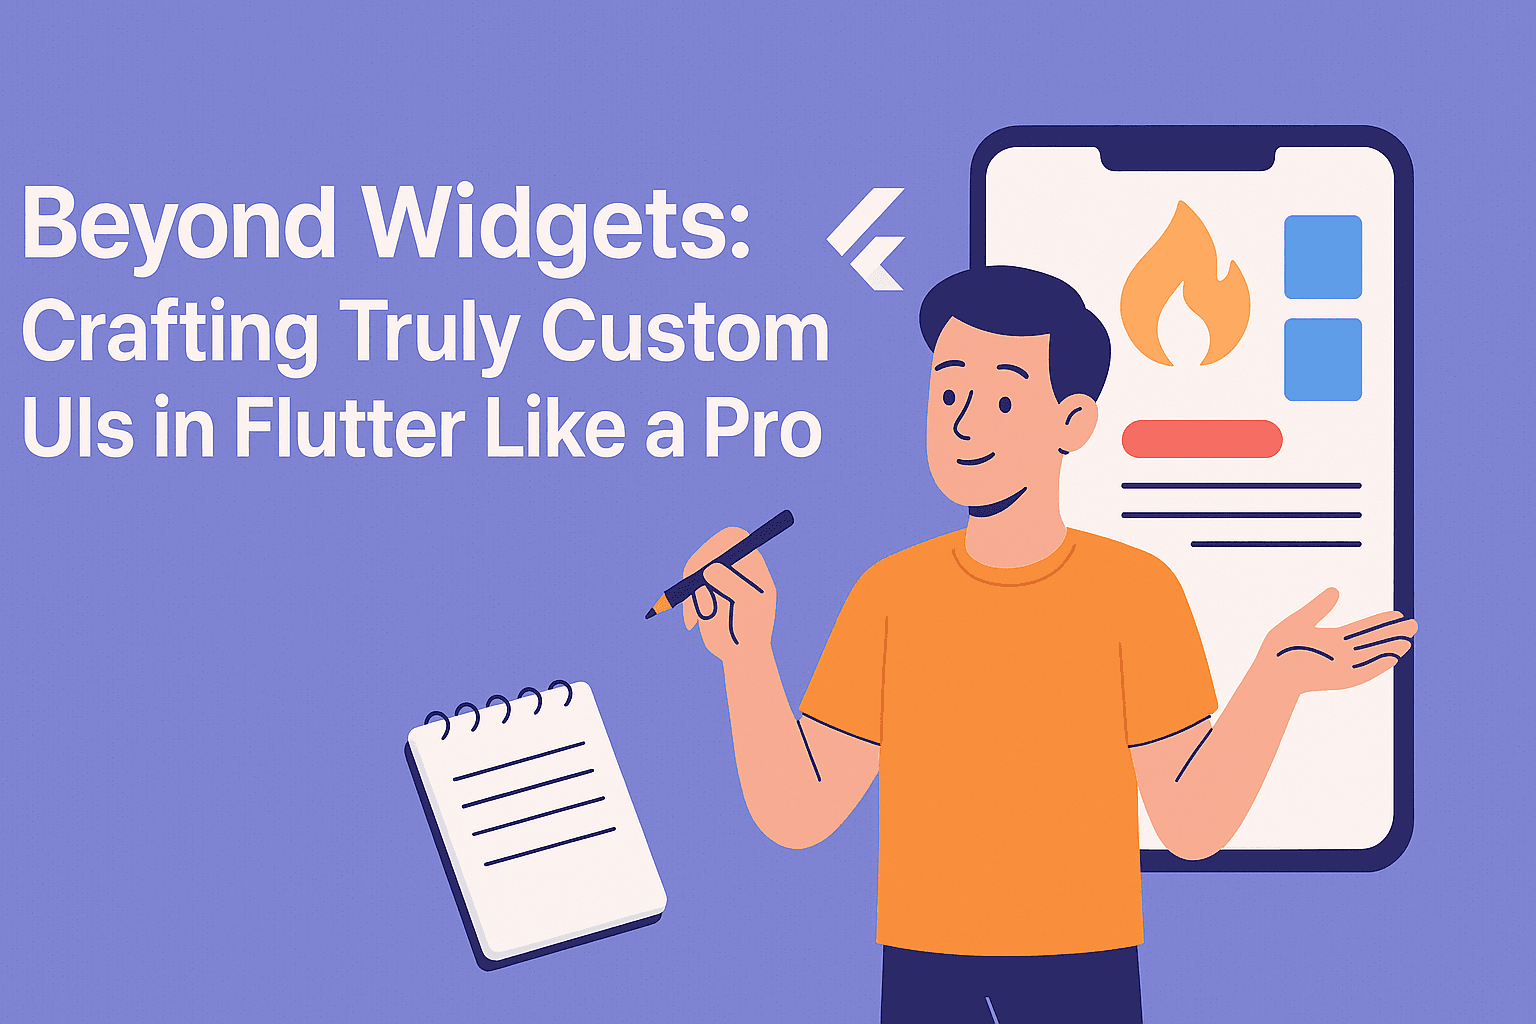
Flutter Custom UI: How to Use CustomPaint, RenderBox and Canvas to Build Any Design
Flutter's widget system is genuinely impressive. Stack, wrap, align, animate, react — it handles the vast majority of UI requirements without you ever needing to reach for anything lower-level. But eventually, you hit a wall. The design calls for something the widget tree just can't express cleanly: a fluid wave that responds to touch, a custom graph with precise control over every drawn element, a radial menu with non-standard layout logic.
When that happens, you need to go below the widget layer. Here's how.
The Limit of Widget Composition
Composing existing widgets is fast and reliable, but it has a ceiling. Situations where widget composition genuinely breaks down include:
- Drawing smooth curves or custom shapes that aren't expressible with existing widgets
- Building custom charts, waveforms, or progress arcs
- Laying out children in non-standard arrangements — radial menus, fisheye lists, anything that doesn't follow linear flow
- Building game-like UIs where you need pixel-perfect control over what's drawn and when
For these, Flutter gives you three layers of increasing power — and complexity.
Level 1: CustomPaint and CustomPainter
CustomPaint is Flutter's first escape hatch from the widget system. It hands you a Canvas and a Paint object and gets out of the way. You describe what to draw; Flutter draws it.
Here's a wave background as a practical example:
class WavePainter extends CustomPainter {
  @override
  void paint(Canvas canvas, Size size) {
    final paint = Paint()
      ..color = Colors.blueAccent
      ..style = PaintingStyle.fill;

    final path = Path()
      ..moveTo(0, size.height * 0.8)
      ..quadraticBezierTo(
        size.width * 0.5,
        size.height,
        size.width,
        size.height * 0.8,
      )
      ..lineTo(size.width, 0)
      ..lineTo(0, 0)
      ..close();

    canvas.drawPath(path, paint);
  }

  @override
  bool shouldRepaint(CustomPainter oldDelegate) => false;
}
Using it in your widget tree:
class WaveHeader extends StatelessWidget {
  @override
  Widget build(BuildContext context) {
    return CustomPaint(
      painter: WavePainter(),
      child: Container(height: 200),
    );
  }
}
shouldRepaint controls when Flutter redraws your painter — returning false here means it only draws once, which is fine for static shapes. For animated or interactive painters, you'd return true or compare old and new delegate values.
This approach handles any shape you can describe with a Path — curves, polygons, gradients, arbitrary fills. It's the right tool for anything visual that doesn't fit standard widget constraints.
Level 2: RenderBox
When you need control over not just painting but also layout and hit testing, RenderBox is the next step. This is Flutter's rendering layer — the same level at which built-in widgets like Container and Text are actually implemented.
It sounds intimidating, but the structure is straightforward:
class MyRenderBox extends RenderBox {
  @override
  void performLayout() {
    size = constraints.constrain(Size(200, 100));
  }

  @override
  void paint(PaintingContext context, Offset offset) {
    final canvas = context.canvas;
    final paint = Paint()..color = Colors.green;
    canvas.drawRect(offset & size, paint);
  }
}
Wrapping it as a widget:
class GreenBox extends LeafRenderObjectWidget {
  @override
  RenderObject createRenderObject(BuildContext context) {
    return MyRenderBox();
  }
}
Drop GreenBox() anywhere in your widget tree. It handles its own size and painting without delegating to any other widget.
You can also handle gestures at this layer:
@override
bool hitTestSelf(Offset position) => true;

@override
void handleEvent(PointerEvent event, HitTestEntry entry) {
  if (event is PointerDownEvent) {
    print("Touched at ${event.position}");
  }
}
This level is appropriate when CustomPainter isn't enough — when your component needs to participate in layout, own its size, or handle input in ways that don't map cleanly to the gesture widgets above.
Level 3: SceneBuilder
SceneBuilder sits at the very bottom of Flutter's rendering stack, below widgets and below RenderBox. It's how Flutter assembles the final frame before handing it to the GPU.
In practice, you'll rarely need this in a standard app. The cases where it makes sense are narrow:
- Building a plugin that integrates Flutter into another rendering engine
- Working on ultra-high-performance rendering where you want to eliminate all widget overhead
- Advanced graphics work involving custom shaders or hybrid compositions
It's worth knowing it exists, but for most production apps — even complex ones — CustomPainter or RenderBox will take you as far as you need to go.
Useful Tools
A few things worth having in your toolkit when working at this level:
- Flutter DevTools — inspect layout, painting, and performance. The "Highlight Repaints" toggle is particularly useful for spotting unnecessary redraws in CustomPainter work.
- ShaderMask and FragmentProgram — bring GPU shaders into your Flutter widgets. Useful for effects that are expensive to approximate with the Canvas API.
- AnimationController with CustomPaint — the standard pattern for animating custom drawings. Drive your painter's parameters from an animation value and call
setState(or use aListenable) to trigger repaints. - Flame — a lightweight game engine built on Flutter. Worth considering for UIs that are fundamentally game-like in nature rather than document-like.
When to Reach for Each Layer
| Situation | Reach for |
| Custom shapes, gradients, or visual effects | CustomPainter |
| Full control over layout, paint, and touch | RenderBox |
| Small tweaks to existing widget appearance | Compose or extend widgets |
| Graph-heavy or animated drawing | CustomPainter with AnimationController |
| Rendering without the widget system | SceneBuilder |
Real-World Scenarios
- Fitness app progress rings — arcs drawn with
CustomPainter, driven by animation values - Voice recorder waveform — real-time canvas drawing updated from an audio stream
- Interactive mind map —
RenderBoxwith custom hit testing for each node - Design tool UI — combination of
RenderBoxfor layout andCustomPainterfor content
The Underlying Point
Flutter is, at its core, a canvas. The widget system is a convenient abstraction built on top of that canvas, and it's the right starting point for almost everything. But when your design genuinely requires it, stepping below widgets is not as scary as it looks — and the control you gain is well worth the extra complexity.
Build that wavy onboarding screen. Draw that custom chart. Flutter has the tools for it.