Flutter Camera Tap to Focus: Implement DSLR-Style Focus Control with GestureDetector
Search for a command to run...
No comments yet. Be the first to comment.
The build-time binary trick that lets you ship a working feature while keeping the real logic unreadable.

TL;DR — This guide covers everything you need to rebrand a Flutter app for a new client: changing the app name, swapping the icon with flutter_launcher_icons, renaming the package ID with change_app_p
A Quick Story to Set the Scene Meet Lumi and Nyx. They share one Flutter app. Lumi prefers light mode — bright cards, cheerful blues, a UI that feels open. Nyx wants the opposite — calm grays, a dark background, something easier on the eyes at night....
There's a category of bug that only shows up in production apps — the kind that doesn't crash, doesn't throw an exception, and doesn't even look wrong on the surface. It just quietly does the wrong thing. One of the most common in security-sensitive ...

When Classes Start Misbehaving At some point in every Dart project, you run into a situation where your classes are being used in ways you never intended. Someone creates an object directly when there should only ever be one. Someone calls an interna...
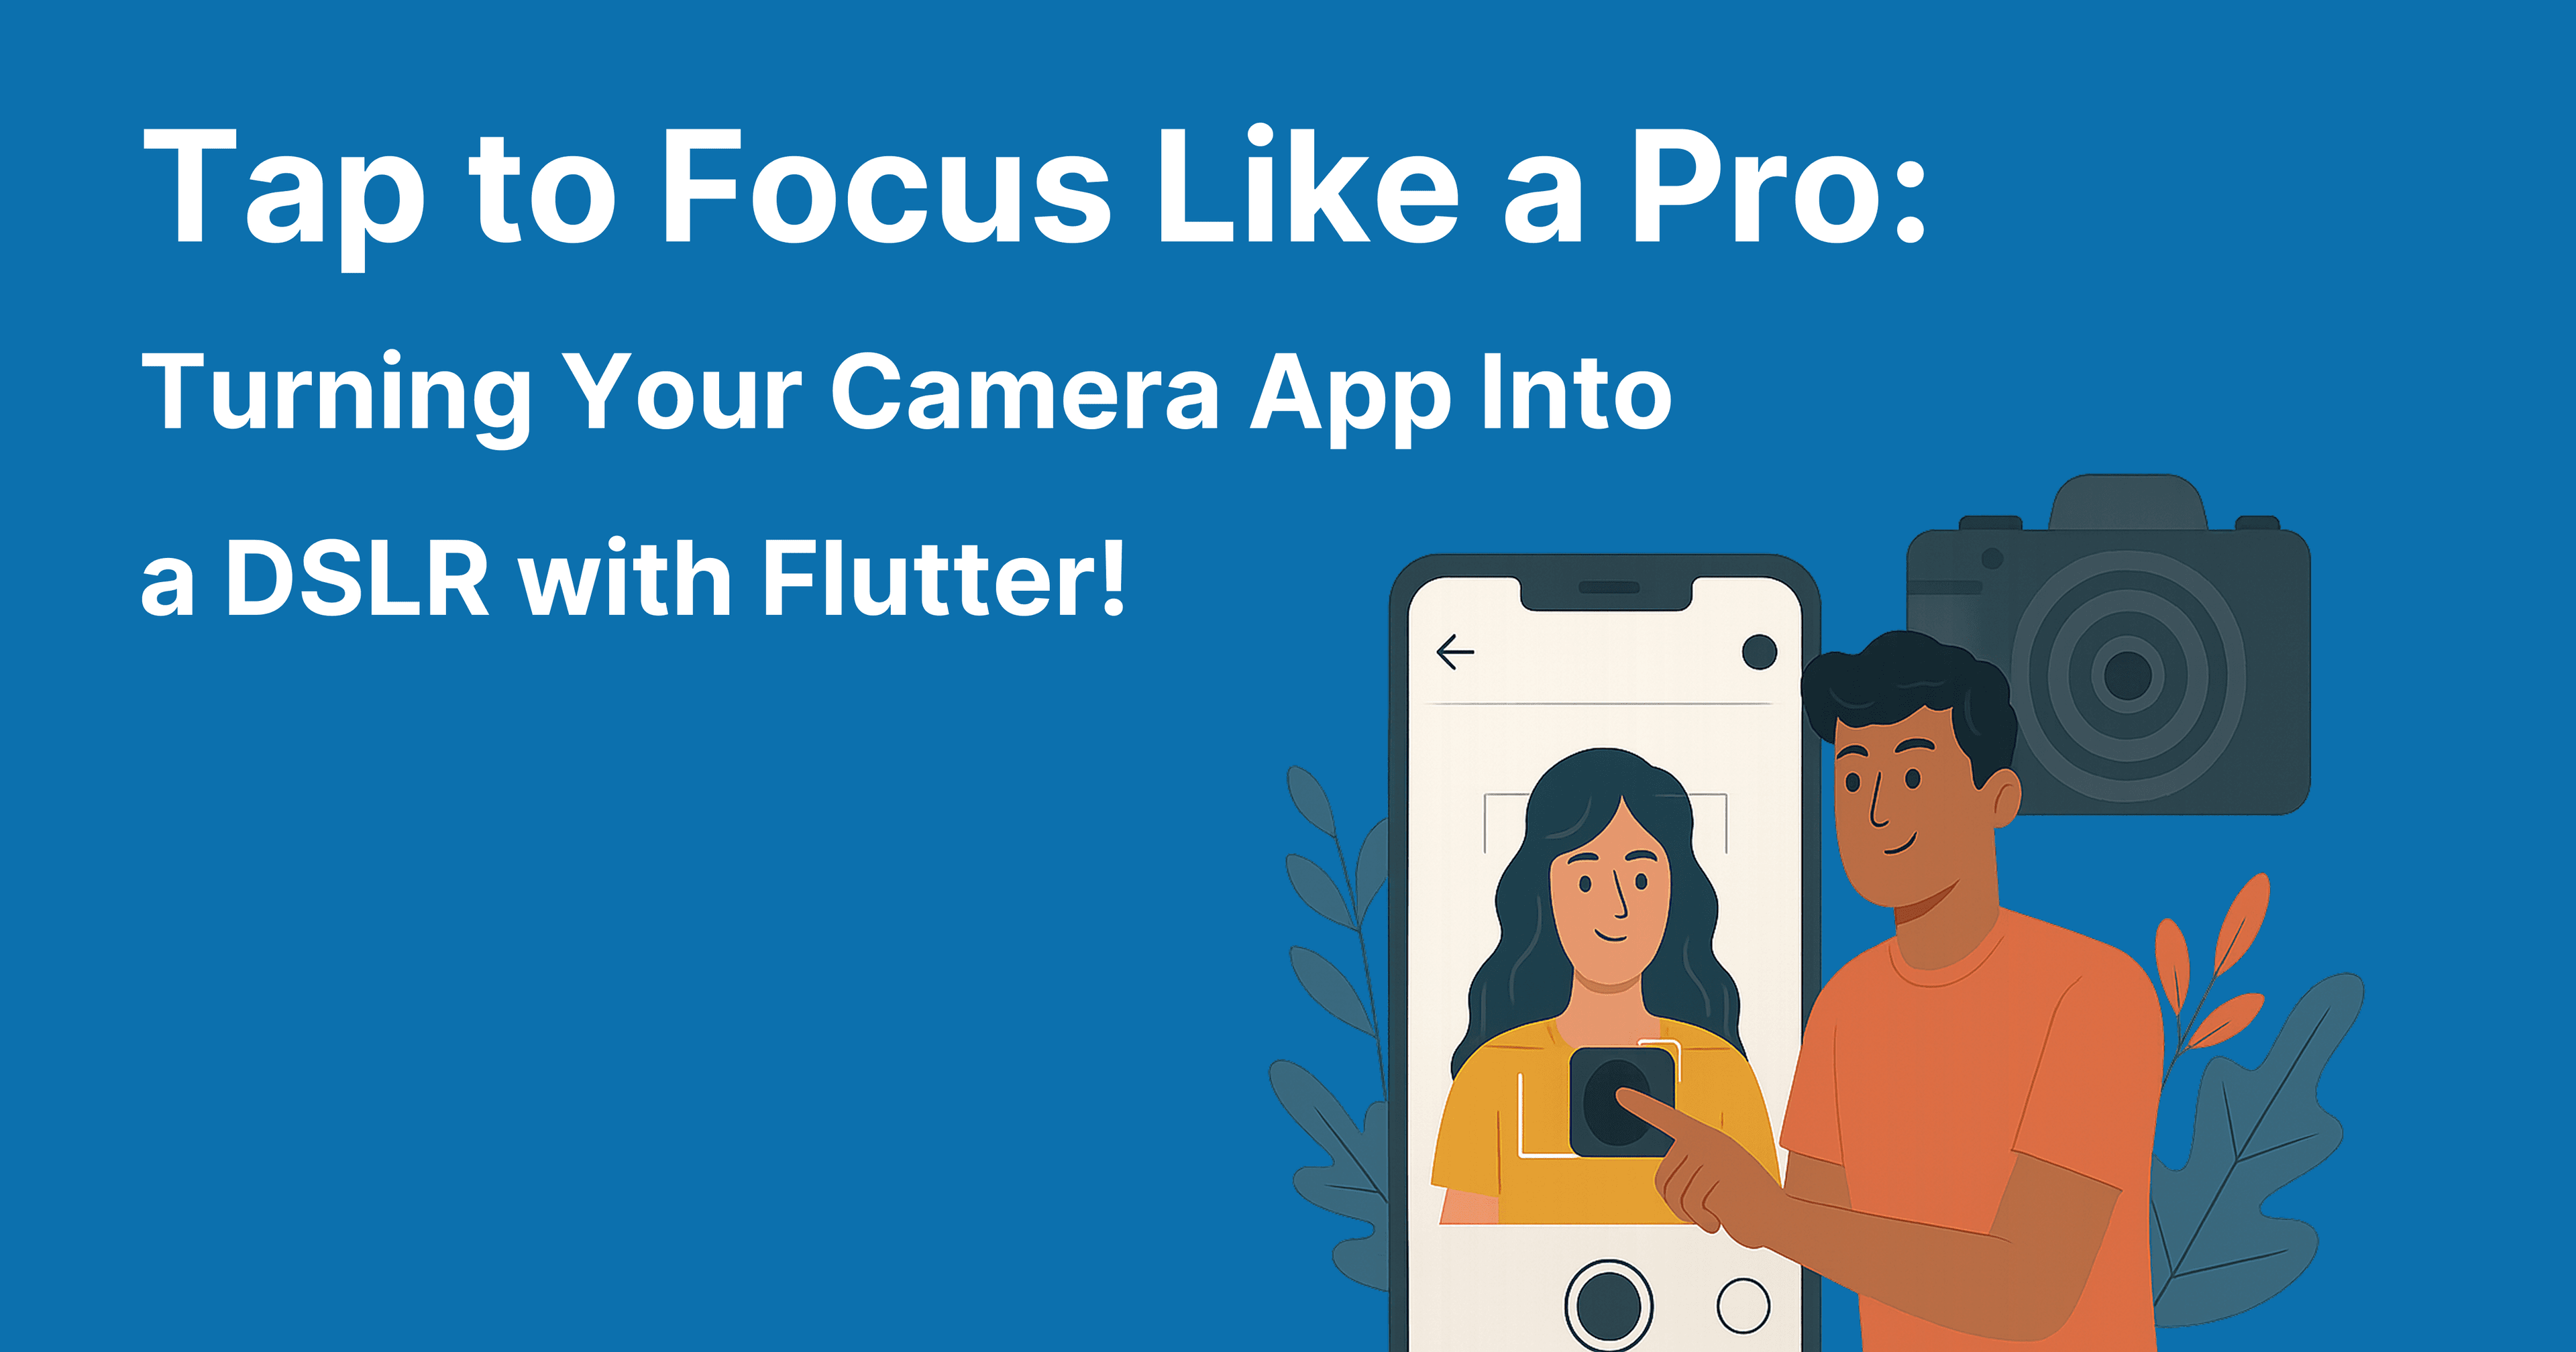
The camera preview was live. The feature request was simple: tap anywhere on the screen and focus the camera there. Like every modern phone camera does when you tap a face or a subject before shooting.
I tapped. Nothing. The camera stayed focused wherever it felt like. I tapped again. Same blur, same indifference.
That's when I went digging into the camera package to figure out why, and how to actually wire this up properly.
Tap-to-focus requires three things in sequence:
Each step is straightforward on its own. The tricky part is understanding why each one is necessary.
GestureDetector(
  onTapDown: (TapDownDetails details) {
    final RenderBox box = context.findRenderObject() as RenderBox;
    final Offset localPosition = box.globalToLocal(details.globalPosition);

    final double dx = localPosition.dx / box.size.width;
    final double dy = localPosition.dy / box.size.height;

    _controller.setFocusPoint(Offset(dx, dy));
    _controller.setFocusMode(FocusMode.auto);
  },
  child: AspectRatio(
    aspectRatio: 3 / 4,
    child: CameraPreview(_controller),
  ),
),
Let's walk through what each part is doing.
onTap fires after the finger lifts, and it doesn't include position data in a form that's easy to work with for this use case. onTapDown fires the moment the finger touches the screen and gives you a TapDownDetails object containing globalPosition — the exact screen coordinates of the touch. For camera focus, you want the position immediately, so onTapDown is the right handler.
final RenderBox box = context.findRenderObject() as RenderBox;
The touch position from onTapDown is in global screen coordinates — relative to the top-left corner of the entire screen. But the camera preview widget probably doesn't start at (0, 0) on screen. There's an app bar, padding, or other widgets above it.
RenderBox knows exactly where the widget sits on screen and how large it is. You need it to convert the global position into a position that's local to the camera preview widget.
final Offset localPosition = box.globalToLocal(details.globalPosition);
globalToLocal translates the tap position from screen space into the widget's own coordinate space. After this, localPosition tells you where the user tapped relative to the top-left corner of the camera preview — not the screen.
final double dx = localPosition.dx / box.size.width;
final double dy = localPosition.dy / box.size.height;
The camera's setFocusPoint method expects normalized coordinates — values between 0.0 and 1.0 — where (0, 0) is the top-left and (1, 1) is the bottom-right of the preview. Dividing by the widget's width and height converts pixel positions into that normalized format.
This is the step developers most often skip or get wrong. If you pass raw pixel coordinates to setFocusPoint, the camera either ignores them or focuses in the wrong place entirely.
_controller.setFocusPoint(Offset(dx, dy));
_controller.setFocusMode(FocusMode.auto);
setFocusPoint sets where the camera should focus. setFocusMode(FocusMode.auto) tells the camera to actually trigger autofocus at that point. You need both — the point alone doesn't trigger a focus action, and setting the mode without a point falls back to whatever default behavior the camera had before.
Functional tap-to-focus is good. Tap-to-focus with a visible focus ring is noticeably better — it tells the user their tap was registered and shows exactly where the camera is focusing.
Here's a simple implementation using an overlay:
class CameraWithFocus extends StatefulWidget {
  final CameraController controller;
  const CameraWithFocus({super.key, required this.controller});

  @override
  State<CameraWithFocus> createState() => _CameraWithFocusState();
}

class _CameraWithFocusState extends State<CameraWithFocus> {
  Offset? _focusPoint;
  bool _showFocusRing = false;

  Future<void> _onTapDown(TapDownDetails details) async {
    final box = context.findRenderObject() as RenderBox;
    final local = box.globalToLocal(details.globalPosition);
    final dx = local.dx / box.size.width;
    final dy = local.dy / box.size.height;

    await widget.controller.setFocusPoint(Offset(dx, dy));
    await widget.controller.setFocusMode(FocusMode.auto);

    setState(() {
      _focusPoint = local;
      _showFocusRing = true;
    });

    Future.delayed(const Duration(seconds: 1), () {
      if (mounted) setState(() => _showFocusRing = false);
    });
  }

  @override
  Widget build(BuildContext context) {
    return GestureDetector(
      onTapDown: _onTapDown,
      child: Stack(
        children: [
          AspectRatio(
            aspectRatio: 3 / 4,
            child: CameraPreview(widget.controller),
          ),
          if (_showFocusRing && _focusPoint != null)
            Positioned(
              left: _focusPoint!.dx - 30,
              top: _focusPoint!.dy - 30,
              child: Container(
                width: 60,
                height: 60,
                decoration: BoxDecoration(
                  border: Border.all(color: Colors.yellowAccent, width: 2),
                  borderRadius: BorderRadius.circular(4),
                ),
              ),
            ),
        ],
      ),
    );
  }
}
The ring appears at the tap location and disappears after a second. The yellow border on a slightly rounded rectangle is a common camera UI pattern — familiar to users from the default phone camera app.
setFocusPoint and setFocusMode are async operations that communicate with the native camera layer. On Android, focus response is generally fast. On iOS, there can occasionally be a small delay. Wrapping both calls in await is the correct approach — don't fire-and-forget them, especially if you're also updating UI state based on the result.
Also, not all camera hardware supports manual focus point selection. On devices where it isn't supported, the camera package may throw a CameraException. Wrapping the focus calls in a try-catch is worth doing in production code.
The implementation is compact, but each line has a specific reason for being there. onTapDown gets the position immediately. RenderBox translates it from screen space to widget space. Dividing by width and height normalizes it for the camera API. setFocusPoint and setFocusMode apply it. Add a visual indicator on top and the feature feels complete — not just functional.